Blog Details

img
Development

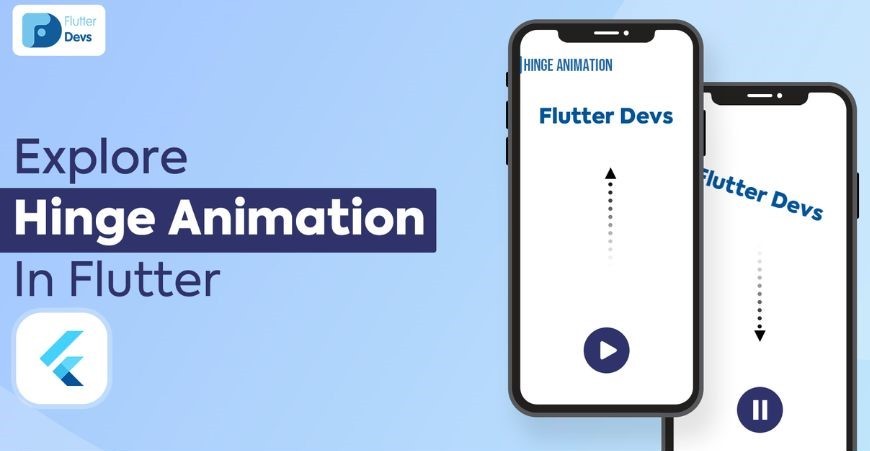
Flutter – Hinge Animation

Spoke Right / 2 Nov, 2023

Animations are a big part of the Flutter application. It makes an app sweet to the eyes and equally user-friendly. In this article, we will discuss in detail the Hinge animations. In Flutter there are two ways to work with animations namely:

  • A pub package
  • Animated Builder Widget

In this article, we will be working with the Animated Builder widget. A Hinge animation is a type of animation where an element can turn over with a sudden movement. To implement the same follow the below steps:

  • Create a dart file (say, hinge_animation) inside the lib folder of the project.
  • Add a FloatingActionButton to play the animation and a text to implement the animation inside the hinge_animation.dart file.
  • Now create a tween with a CurvedAnimation using the _rotationAnimation property.
  • Now use the Animation Controller to handle and create the instance of the animation.

Let’s explore these steps in detail.

The hinge_animation.dart file:

After adding the text, the FloatingActionButton, the AnimationController, and the curved animation the file would somewhat look like below:

import 'dart:math';


import 'package:flutter/material.dart';

import 'package:flutter/rendering.dart';


//create a stateful widget

class HingeAnimation extends StatefulWidget {

  @override

  _HingeAnimationState createState() => _HingeAnimationState();


}


class _HingeAnimationState extends State with SingleTickerProviderStateMixin{

  // animation setup

  AnimationController _controller;

  Animation _rotationAnimation;

  Animation<double> _slideAnimation;

  Animation<double> _opacityAnimation;


  @override

  void initState() {

    super.initState();

    _controller = AnimationController(

      vsync: this,

      duration: Duration(milliseconds: 2000),

    );


    _rotationAnimation = Tween(end: 0.15, begin: 0.0)

        .animate(

      CurvedAnimation(

        parent: _controller,

        curve: Interval(

            0.0,

            0.5,

            curve: Curves.bounceInOut

        ),

      ),

    );

     // setrtup the Tween for creating curve

    _slideAnimation = Tween(begin: 100.0, end: 600.0).animate(

      CurvedAnimation(

        parent: _controller,

        curve: Interval(

            0.5,

            1.0,

            curve: Curves.fastOutSlowIn)

        ,

      ),

    );

      // setup opacticty as per need

    _opacityAnimation = Tween(begin: 1.0, end: 0.0).animate(

      CurvedAnimation(

        parent: _controller,

        curve: Interval(

            0.5,

            1.0,

            curve: Curves.fastOutSlowIn),

      ),

    );


  }


  @override

  void dispose() {

    super.dispose();

    _controller.dispose();

  }


  // the animation widget

  @override

  Widget build(BuildContext context) {

    return Scaffold(

        appBar: AppBar(

          backgroundColor: Colors.green[300],

          automaticallyImplyLeading: false,

          title: Text("GeeksForGeeks"),

          centerTitle: true,

        ),


        body: AnimatedBuilder(

          animation: _slideAnimation,

          builder: (BuildContext context, Widget child) => Container(

            width: 200,

            height: 150,

            padding: EdgeInsets.all(0),

            margin: EdgeInsets.only(

              left: 100,

              top: _slideAnimation.value,

            ),

            child: RotationTransition(

              turns: _rotationAnimation,

              child: Center(

                child:

                Text('GeeksForGeeks', style: TextStyle(

                    fontSize: 25,

                    fontWeight: FontWeight.bold,

                    color: Color.fromRGBO(

                        300,

                        150,

                        500,

                        _opacityAnimation.value)

                ),),

              ),

            ),

          ),

        ),

        // the button

        floatingActionButtonLocation:

        FloatingActionButtonLocation.miniCenterFloat,


        floatingActionButton:

        FloatingActionButton(

          child: Icon(Icons.play_arrow),

          backgroundColor: Colors.green[300],

          onPressed: (){

            _controller.forward();

          },

        ),

    );

  }

}

The main.dart file:

This is the main structure of all flutter applications. After the above hinge_animation.dart file is completed we just need to import the same in the main.dart file as shown below:

  • Dart


import 'package:flutter/material.dart';

import 'package:flutter_hinge_animation.dart';


void main() => runApp(MyApp());


class MyApp extends StatelessWidget {

  @override

  Widget build(BuildContext context) {

    return MaterialApp(

      debugShowCheckedModeBanner: false,

      //theme: ThemeData.dark(),

      home: Splash(),

    );

  }

}

Output:

0 comments

Warning: PHP Startup: Unable to load dynamic library 'imagick.so' (tried: /usr/local/lib/php/extensions/no-debug-non-zts-20210902/imagick.so (/usr/local/lib/php/extensions/no-debug-non-zts-20210902/imagick.so: cannot open shared object file: No such file or directory), /usr/local/lib/php/extensions/no-debug-non-zts-20210902/imagick.so.so (/usr/local/lib/php/extensions/no-debug-non-zts-20210902/imagick.so.so: cannot open shared object file: No such file or directory)) in Unknown on line 0